Screens Tab
Overview
The Screens Tab shows an overview of all the screens in the display setup.
Double click on a screen to enter Design Tab for that screen.

Options
Sorting
Screens can be listed in page number order (None, the default) or sorted alphabetically by name (Screen Name (A-Z) or Screen Name (Z-A)).
Screens may be given a name by setting the ‘Name’ property on the Design Tab .
Tag Filter
If screens have been assigned tags, then they may be filtered based upon tag.
Screens may be assigned tags via the ‘Tags’ property on the Design Tab .
Hide Default Pages
If checked, ‘Hide default pages’ will hide any screens that have not been configured yet.
Drag and Drop
To reorder screens, select one or more screens (hold Ctrl or Shift to select several), then drag them onto another screen. Screens dragged to a later position are placed after the target screen; otherwise they are placed before it. The other screens are renumbered to make room; no screen content is overwritten. Predefined screens can’t be dragged.
A screen library file (.gddscreen) may be dragged from Windows Explorer onto Dash Design while the Screens Tab or the Design Tab
is shown. The first screen in the file replaces the content of the selected screen (or the screen shown in the Design Tab). You are not asked to confirm; use Undo to restore the previous screen.
Context Menu
Screen Import / Export
The context menu (Right-Click) for each screen offers the option to import / export the screen from / to a file.
This facilitates building a library of screens for sharing between display setups.
Screen library files have the file extension .gddscreen.
Importing a screen opens the Screen Library to select the screen to import, which may come from a screen library file or from another setup file.
Duplicate Screen
Screens may be duplicated onto another screen to facilitate designing similar screens. Select the destination screen in the Screen Library.
Move Screen
Moves the screen to a new position in the screen list. Select the destination in the Screen Library. The screens in between are shifted along by one position to make room; their content is preserved.
Clear Screen
Resets the screen back to a blank page.
Disable / Enable Screen
Screens may be disabled so that they do not show when running on the Display Module. Disabled screens are shown with a grey effect.
When importing or duplicating a screen, if the destination screen already has content, you are asked to confirm that it will be overwritten.
Screen Library
The Screen Library dialog is used when importing, duplicating or moving screens. It shows thumbnails of the available screens.
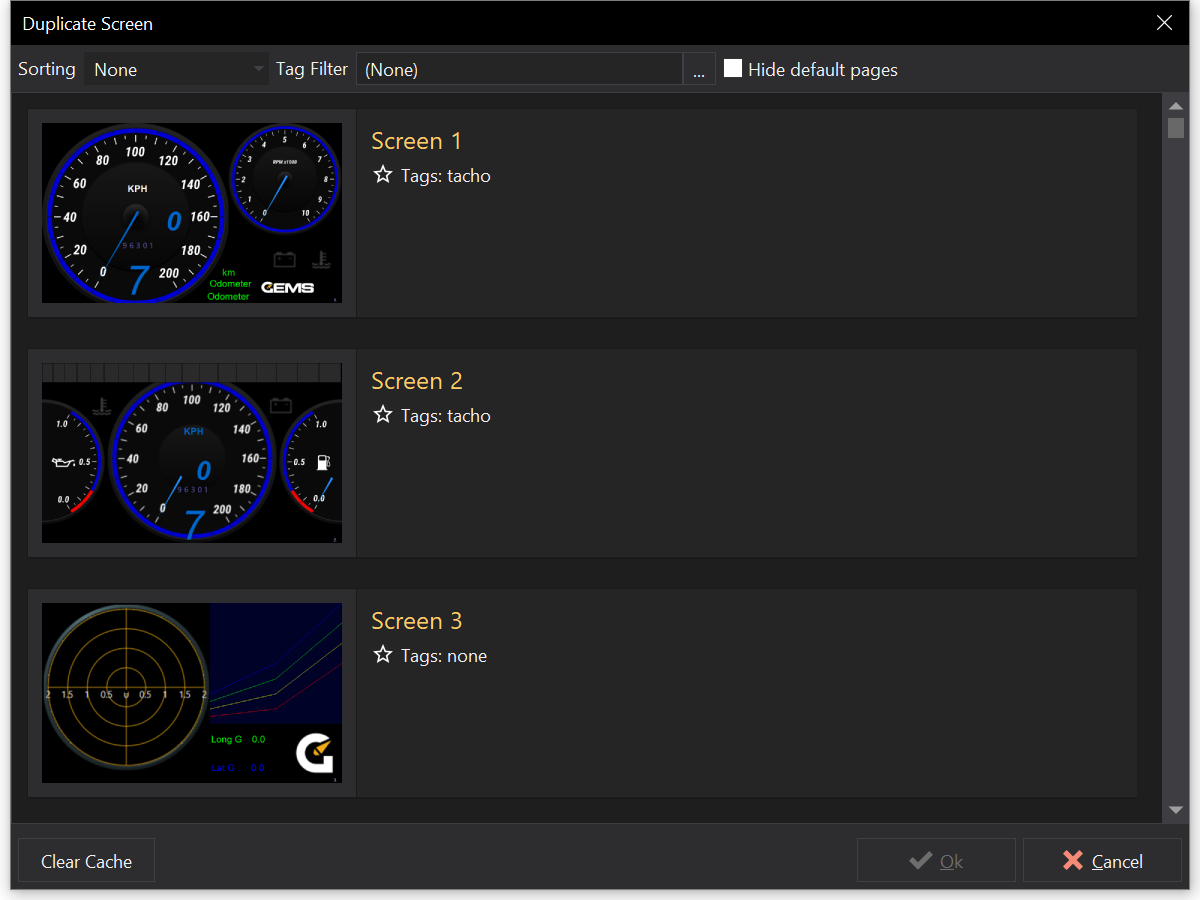
When importing, select the folder to browse using the address bar. Screens are listed from screen library files and setup files in the folder (and its sub-folders, if Include Subfolders is checked). Check File to list the screens from a single file; use the arrow buttons to move to the previous / next file.
| Option | Description |
|---|---|
| Sorting | None, Screen Name (A-Z) / (Z-A), Modified Date (Most Recent) / (Least Recent) or File Name (A-Z) / (Z-A). |
| Tag Filter | Show only screens with the selected tag. |
| Hide Duplicates | Hide screens that are duplicates of other listed screens. |
| Hide full setup files | Hide screens from full setup files, so that only screen library files are listed. |
| Hide default pages | Hide screens that have not been configured. |
Click Clear Cache to clear and regenerate the cached screen thumbnails.