Manipulating View Objects
Manipulating View Objects covers the following:
- Adding an Object
- Customising Objects
- Grouping Objects
- Changing Objects in the Same View
- Manipulating the Layout
Adding an Object
There are 3 ways to add an object to a tab:
- Click the add object icon in the GWv4 toolbar. By default, the icon will look like a map graph (
 ), but will change to the last added object’s icon once you have added one. Clicking the down arrow will bring up a list of all the available objects to choose from, clicking the icon itself will add the last object added.
A list of available channels/maps/options will appear for the object you have selected. Here is an example list for a Tacho:
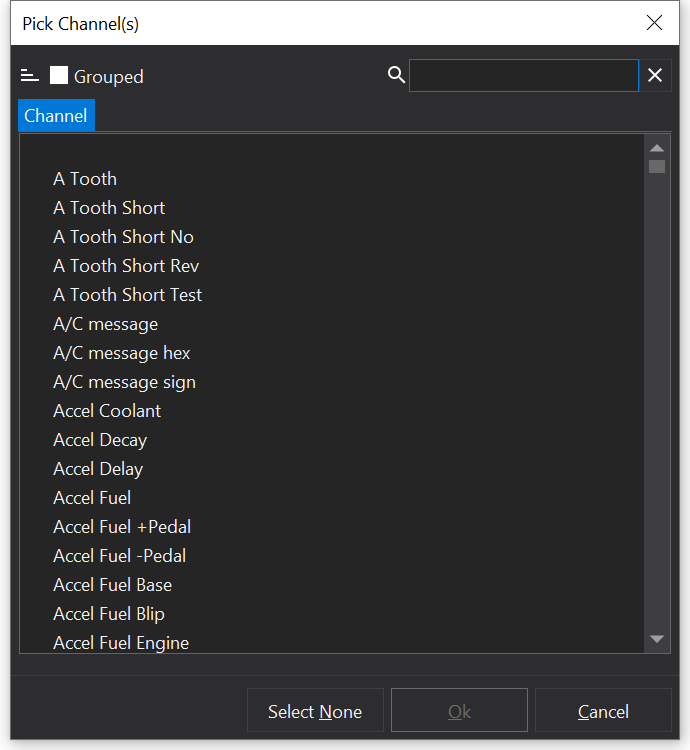
Select the data you wish to display then click ‘OK’.
- From the View Explorer click and drag the object you wish to display into the tab area, as shown below:

- Right click on a blank area of the tab. This will provide a list of all objects that can be added, as below:

Select the object you wish to add then select the data you wish to shown from the pick list as shown in the first option.
Note
You can display many more than one of each object type, in fact there are no limits on how many objects you wish to add!
Inserting Options and Channels
Options and channels may be inserted into existing lists by dropping them on the ‘insert’ docking hint:
Multiple Selection
Multiple items may be selected in the views tree use Shift and click to select ranges and the Ctrl button to toggle items when clicking with the mouse.
To drag the items, press and hold the left mouse button on an area that is highlighted to begin the drag.
If multiple options or channels are selected, then they will be combined into a single list.
Customising Objects
All view objects in GWv4 can be customised in a number of ways:
Renaming
All objects can be renamed. This can be especially useful for renaming a Channel List as to the channels that is has listed, or renaming a notes object to describe the notes it contains. To rename an object simply select the object and then access the context menu.
To access the context menu, simply right click on the object. Alternatively, press the Context Menu key (to the right of Alt-Gr) whilst the view is focused. Some keyboards do not have a context menu key, in which case you can use Shift-F10.
Once the context menu is open, simply select the ‘Rename’ option. Type in the new name for the object, and the object will now be renamed.
Locking
Option Full List, Option Selection List and Channel List can be locked so that the items they display can not be accidentally changed. To do this , right click on either a option list or Channel List and select ‘Lock’. Now the current items can not be changed and new items can not be added until the object is unlocked. To unlock a list simply right click and select ‘Unlock’. You will now be able to make changes to the list.
Grouping Objects
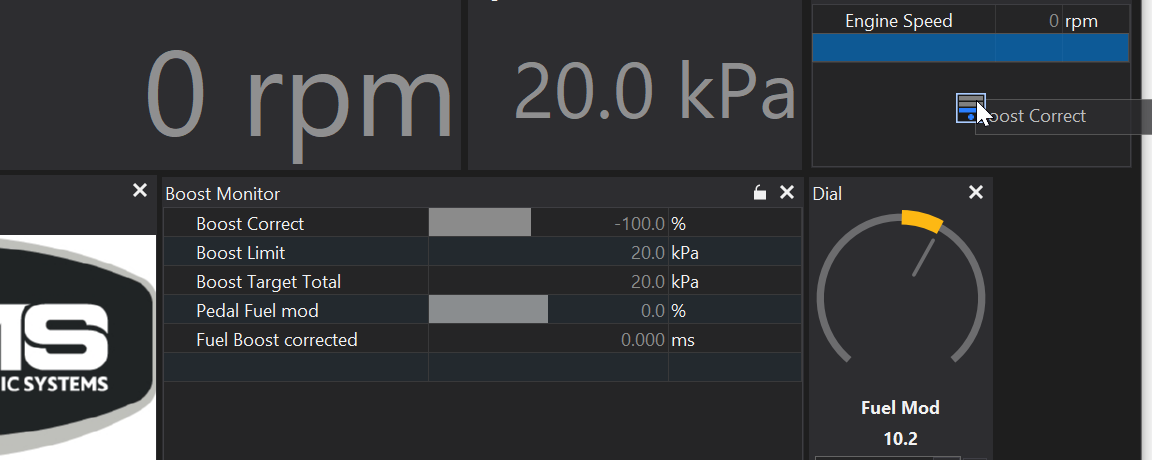
Multiple objects can be grouped together in the same object. These objects then appear as tabs in a singular object as shown in the following picture:

This grouped view saves screen space, allows you to quickly swap between several representations of the same data, and lets you add other useful views such as in this example where a note on how to set up a fuel map has been included.
To do this, click and drag an item you wish to group over the top of the other, where a box will appear in the centre of the window. Dragging the item to that box will highlight the other view’s window and releasing the mouse button will group the windows, shown here:
To remove an object from a group, simply click and drag its tab at the bottom of the group away from the group and release, this item will now be separated.
Changing Objects in the Same View
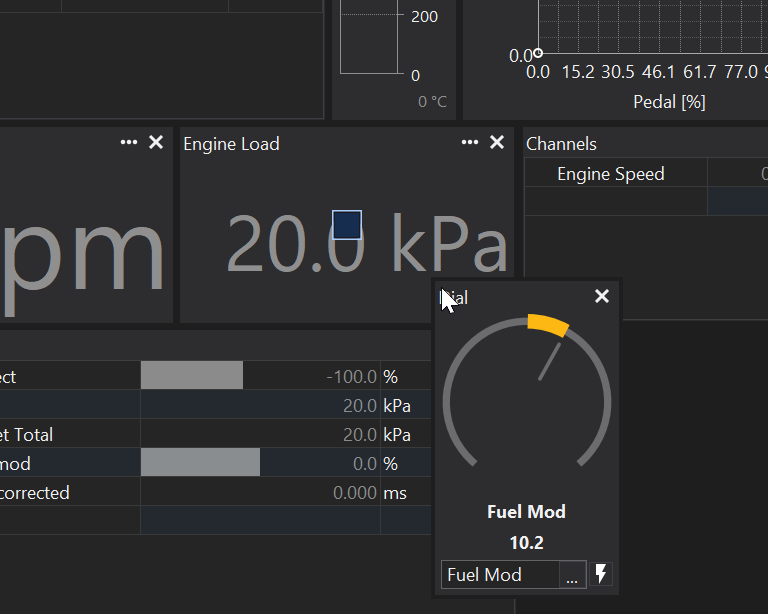
For some views, you can change the object that you are viewing by clicking on the ‘…’ button in the caption bar of the view.
This will then offer the option to pick a new object to display in the same view.
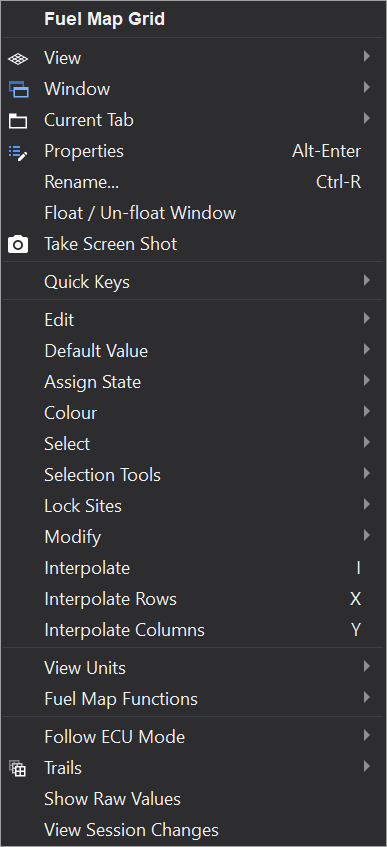
Alternatively to cycle between objects if you just want to do a check over all of the maps/tables for a calibration, use the options in the layout menu:
- Change View to Previous Object - If the selected view supports it, cycle through objects (e.g. maps) in the same window.
- Change View to Next Object - As for Change View to Previous Object, in the opposite direction.
These have the keyboard shortcuts ‘Ctrl-Shift-PGUP’ and ‘Ctrl-Shift-PGDN’ respectively by default. These can of course be configured to whatever you like - see Configure Shortcut Keys.
Manipulating the Layout
Windows within tabs may be moved by grabbing their title bar with the left mouse button and dragging.
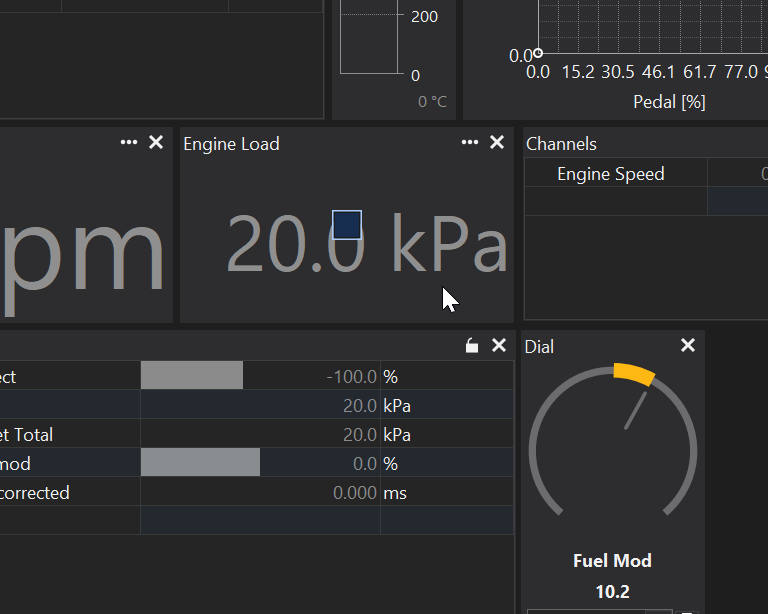
Selecting windows
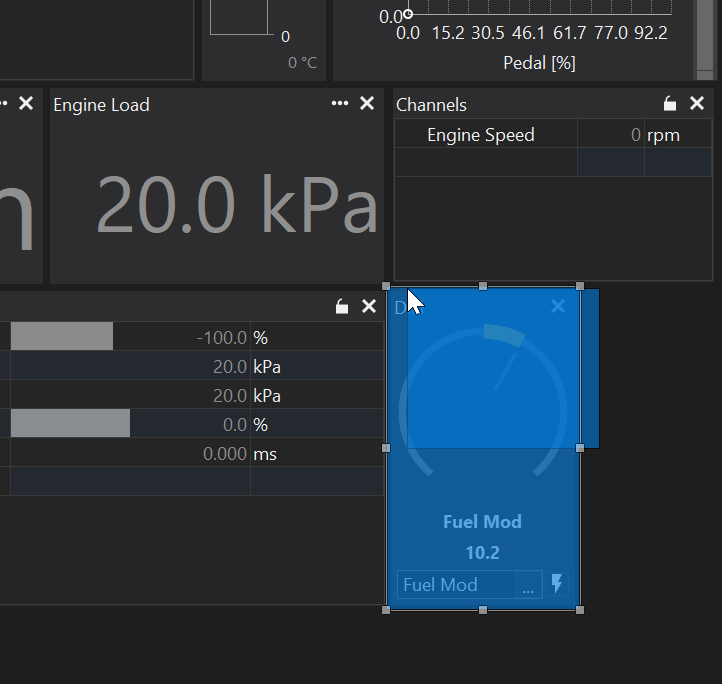
To select a window (or multiple windows), drag from an empty space in the tab using the left mouse button. This should display a blue ‘rubber band’ selection box. Continue dragging the mouse so that the windows that you wish to select intersect with the rubber band box:
You can also select windows by holding down the ‘Ctrl’ key and clicking on the title bar of the windows that you wish to select. This method can also be used to deselect windows.
Moving a selection
The selected windows can be moved by left mouse button-dragging the selection highlight area.
Copying a selection to another tab
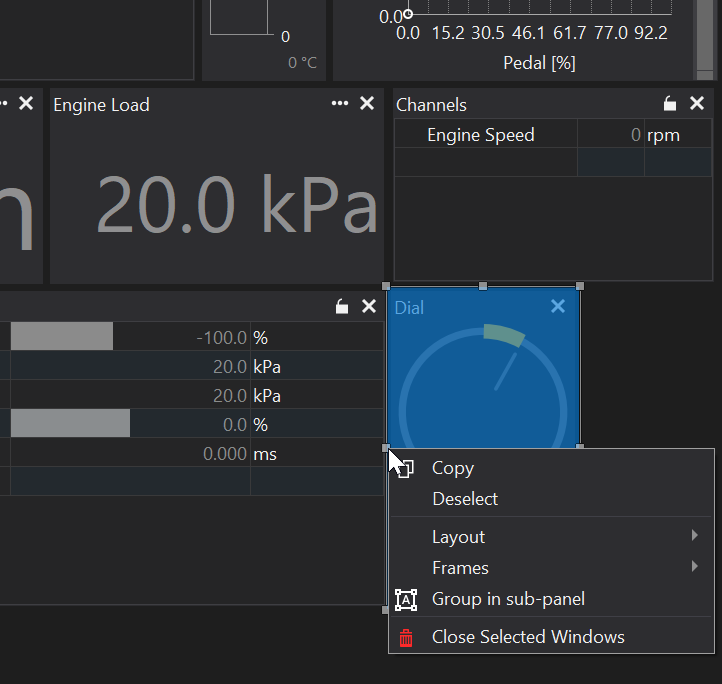
Invoking the context menu on the selection (right mouse button or context menu key), will allow you to copy the windows:
Once copied, select the tab that you want to paste the windows into and invoke the context menu in a blank area of the tab. Select ‘paste’ from the context menu.
If there are no blank areas, select the layout sub-menu from a child window context menu.
Resizing selected windows
The selected windows may be resized by using the resize handles at the corners of the selection. Use the left mouse button and drag the handles to resize.
Closing selected windows
The selected windows may be closed by selecting ‘close windows’ from the context menu of the selection highlight.