Connection Settings
The Connection Settings dialog is available from the top level menu .
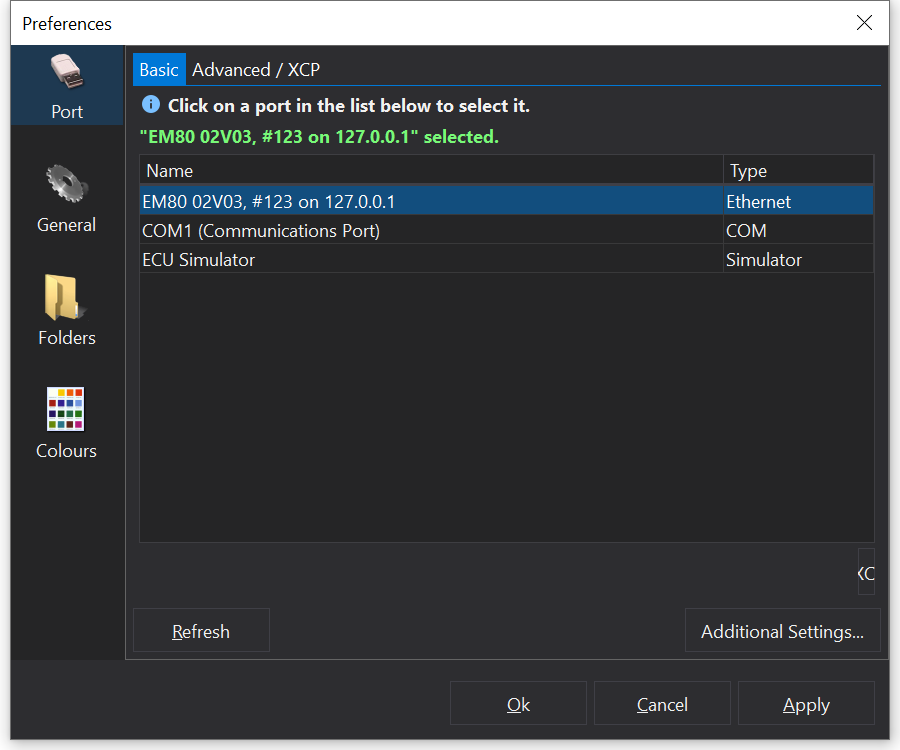
Basic Settings
Generally the ‘Basic’ settings page is all that you will need. It will display ports of all types that are available.
To select a port, simply click on the port in the list on the ‘Basic’ tab.
Click the Refresh button to refresh the ports in the list. You may need to do this if you have plugged in a USB device after displaying the connection settings.
Additional Settings
Enable Hotplugging
This option allows USB connections to be re-established if the port is removed whilst the ECU is online. You can disable it here if removal of devices is causing problems on your PC.
Open Matching Cal When Connected
This option scans your previous calibration files to find one that matches the data downloaded from the ECU after connecting.
Advanced Tab
In some cases the port settings for the ECU must be mo0re precisely configured than the ‘Basic’ page allows. For example CAN connections may require manually configuring the CAN IDs for transmit / receive.
For Serial COM ports, in most cases, you can detect or set the baud rate directly from the Connect dialog.
To adjust settings for a particular type of port, select the port form the “Transport” drop-down box and set it up with the required options.
XCP Connections
XCP connections must be configured via the ‘Advanced’ tab and require an XCP license.
ECU Simulator
The ECU Simulator is useful for demos and development purposes so is not generally used. It does not simulate any ECU functions other than communications and updating the Run Time channel or user-specified channels.