Converting a Calibration
Converting a calibration may be required when upgrading the firmware in a GEMS ECU.
Converting a Calibration
To convert a calibration select This will display the following window:
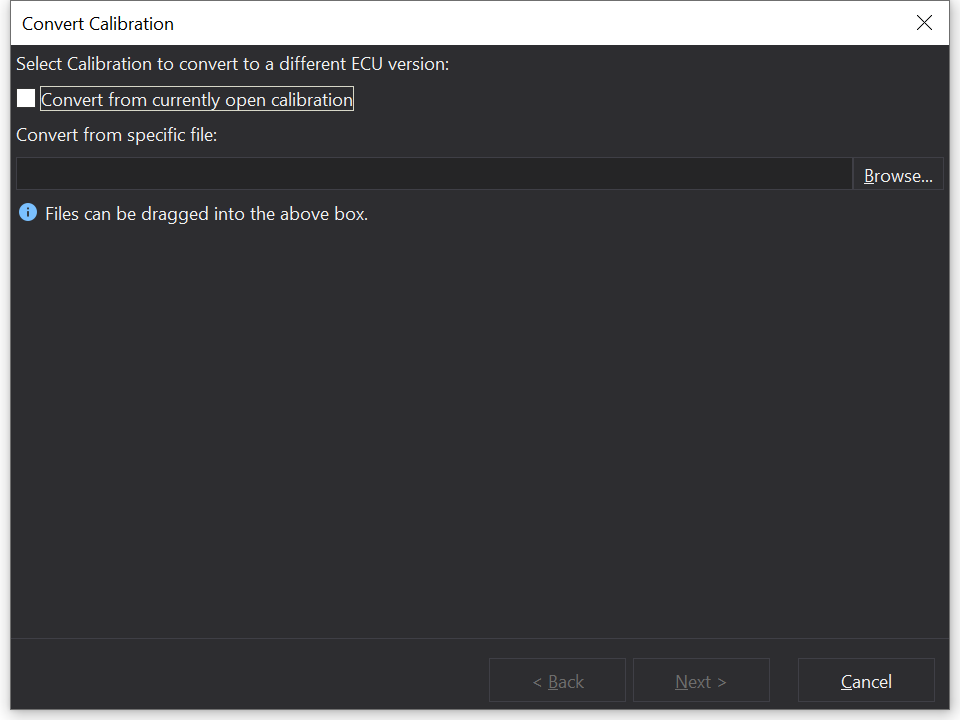
The currently open calibration can be converted by simply ticking the ‘Convert from currently open calibration’ box.
Alternatively you may wish to convert a previously saved calibration, to do this select the ‘Browse…’ button, and navigate to and select the calibration you wish to convert. Or you can simply drag and drop the calibration from your files into the text window.
Select ‘Next’ and something similar to the following window will then be displayed:
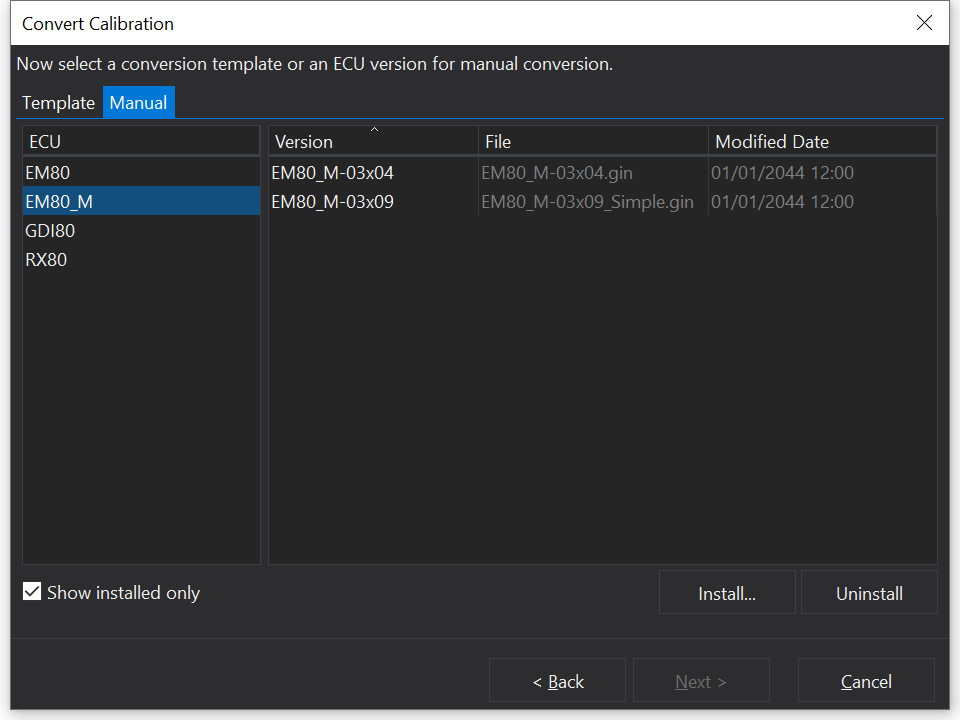
You will automatically be on the manual conversion tab, on the left side of the window are a selection of ECUs the the calibration could be converted to match. If the calibration is specific to a particular ECU then that ECU will already be selected.
The right side of the window displays various versions of each ECU. By default only installed versions will be displayed, but this setting can be turned off by the small tick box at the bottom left of the window.
New versions can also be installed using the ‘Install…’ button towards the bottom right of the window, and old versions can be uninstalled using the ‘Uninstall’ button in the same location.
Manual Conversion
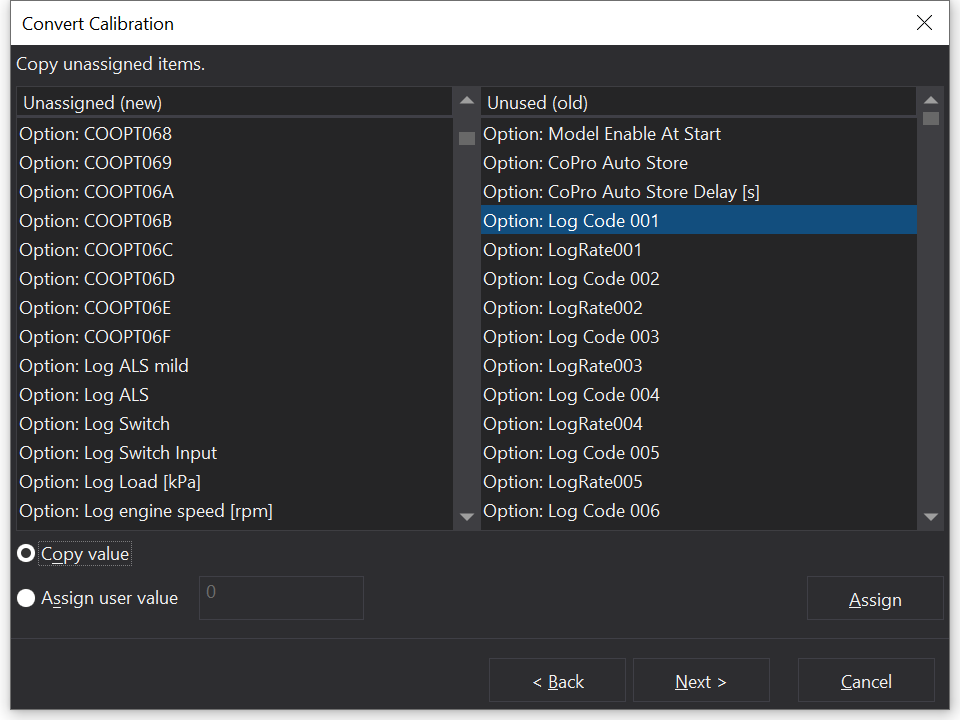
Once the target version has been selected, simply select the ‘Next’ button, and the following window will be displayed:

On the left are new options/channels etc that do not exist in the currently open calibration. These new options/channels will need values assigned to them. This can be done by copying a value from the right column across to the new options/channels, or by assigning a user value.
On the right are old/unused options/channels that exist in the currently open calibration, but not in the template that is being used to convert.
Copying Values
At the bottom left of the window the copy option should be selected by default, if not then simply select the radio button. Now select the new item from the left list to take the value of the old item from the right list. Once both are selected click the ‘Assign’ button at the bottom right of the window. Both selected items will disappear from the lists as the old item is assigned to the new. An example copy is shown below.
Assigning New Values
If none of the old items are a match for the new items, then you may want to manually enter a value for the new items. To do this select the ‘Assign user value’ radio button in the bottom left of the window. Once selected there is a text box next to the radio button which you will now be able to type in.
Select a new item from the left list, enter a value in the text box to assign to it, then simply click the ‘Assign’ button and the new item will disappear from the left list as the user value is assigned.
Once all new items have had values assigned to them, or have been left with a default value, simply select the ‘Next’ button.
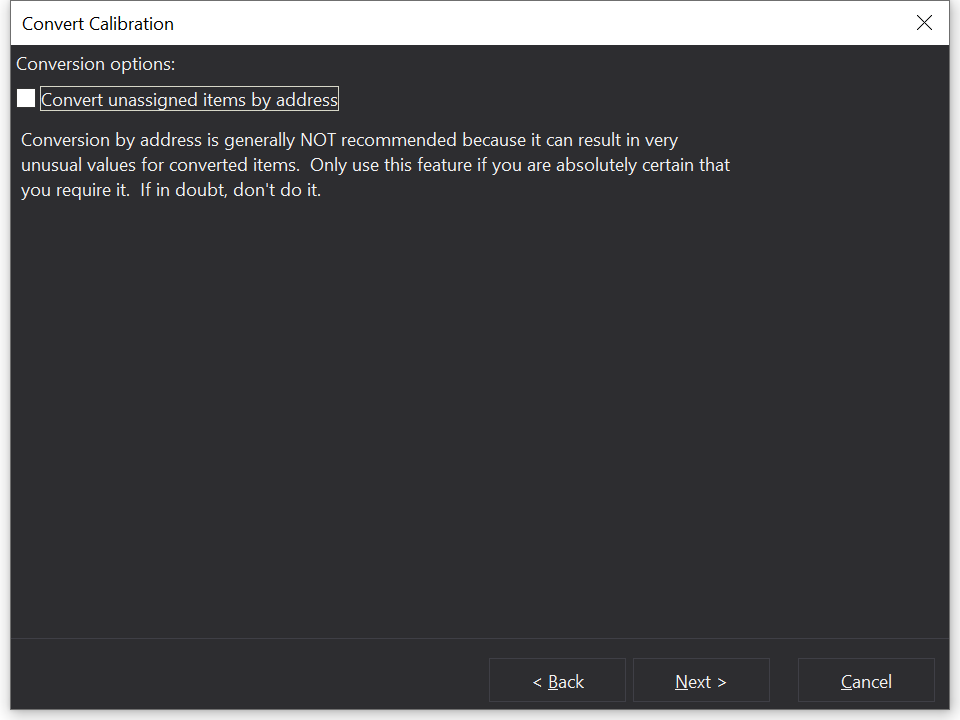
If there were new items that were left unassigned, then the following window will be displayed.
Otherwise, if all items had a value assigned to them, then something similar to the following window will be displayed.
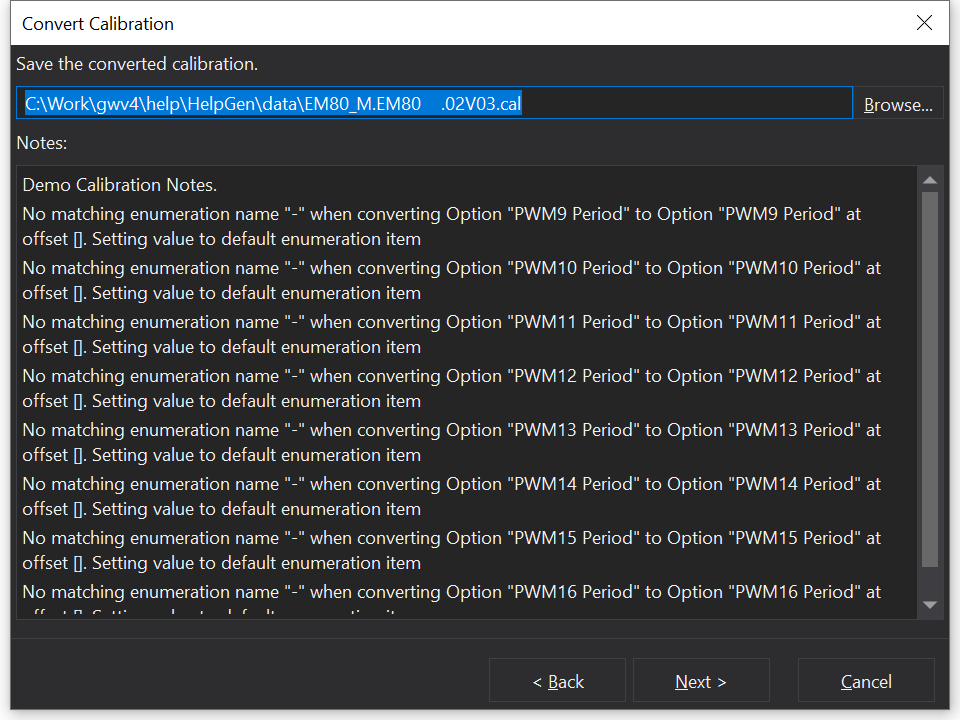
Adding Notes and Saving
Here you can add some notes about the calibration, such as details about important setting in the calibration. These notes can be used to quickly identify calibrations with similar names. The calibration can then be saved, and the following window will be displayed.
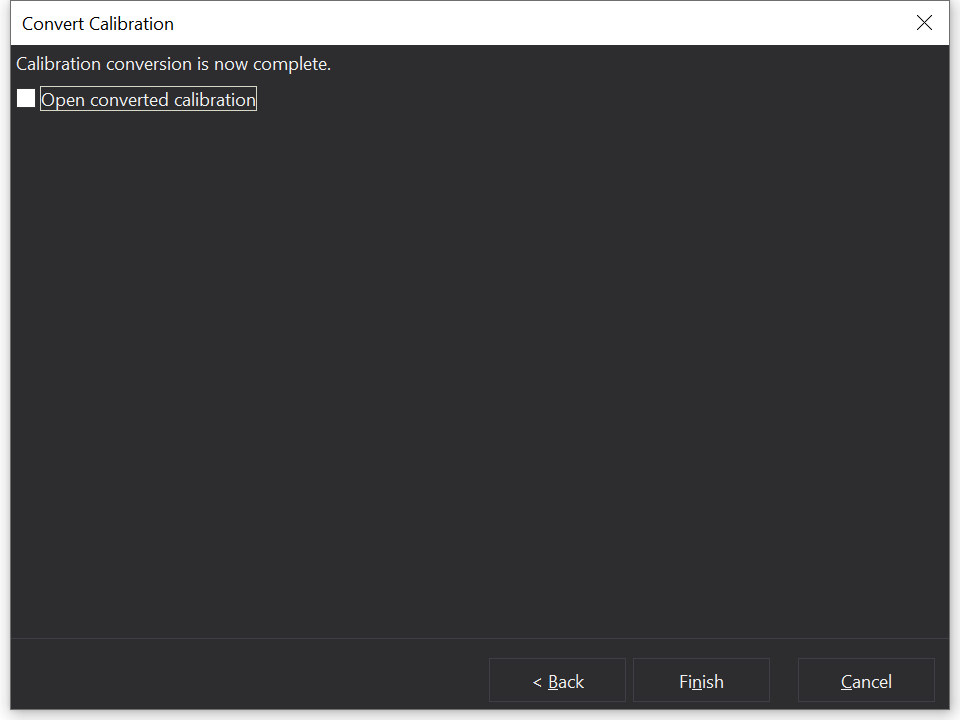
The new calibration can then be opened immediately, or original calibration that you were converting from can be left open.
Template Conversion
Conversion templates allow you to easily convert between two ECUs. When creating a conversion template you will be able to select options, tables, and maps from the old ECU and assign these values to new parameters in the new ECU.
It is possible to create a conversion template from within GWv4, this is done via selecting , upon which the following window will be displayed.
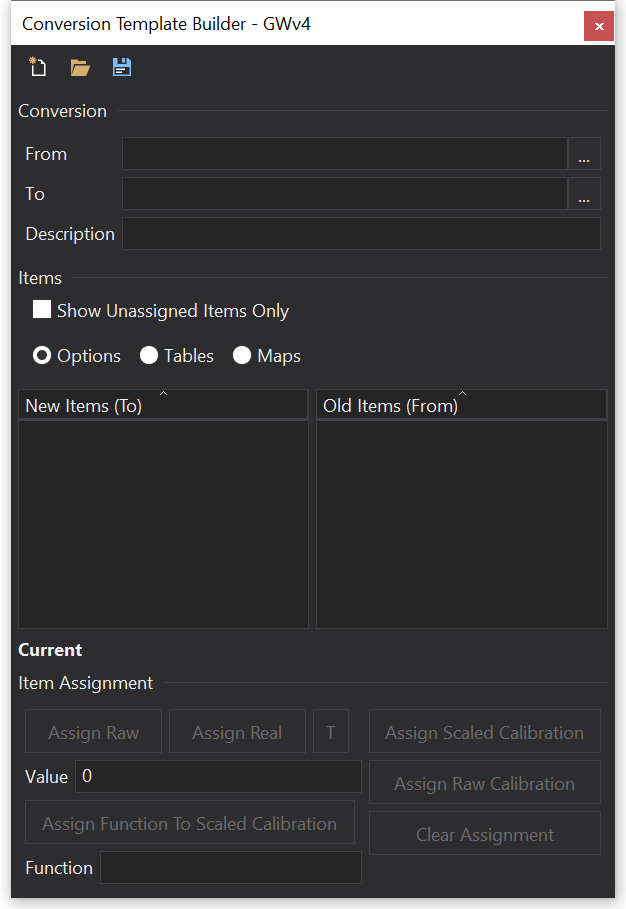
From here you can either choose to load an existing template, or to create a new template. To start creating a new template, simply add a From and To ECU definition.
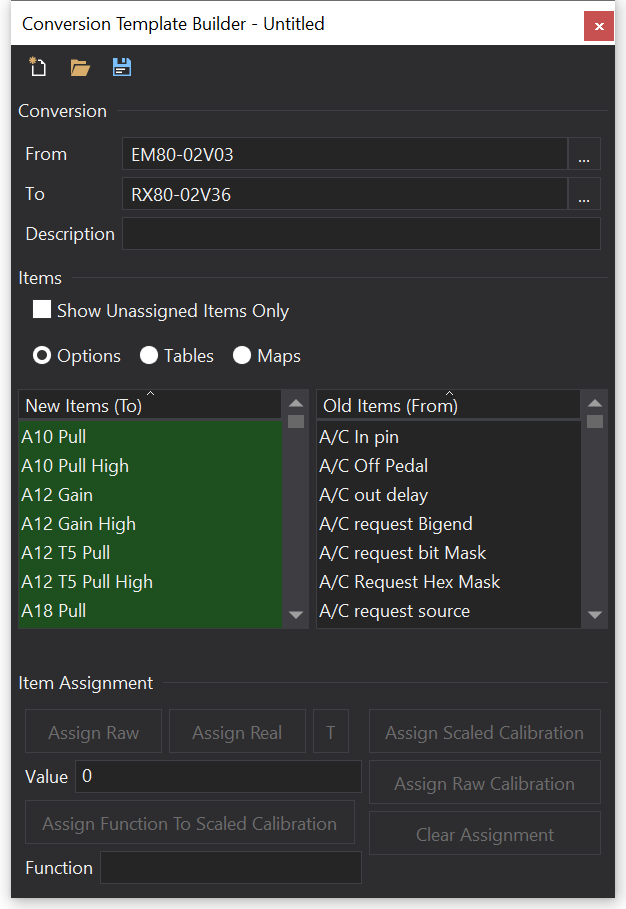
Once the From and To ECU definitions have been selected, you will see that there are two corresponding lists from each ECU. By default these will show Options first, but you can simply select Tables or Maps. Here you can select to assign completely new values, or you can select to assign one of the old items to one of the new items.
A description for the conversion template also needs to be entered, and then the template can be saved.
The conversion template will then appear in the templates section of the standard calibration conversion window when you select a source ECU that is the same as the template source.